Plant Care Work
Do you have indoor plants in your home? Do your young children like to help water plants or do they spend time digging them up or playing in the soil more often than not? 😄 Children playing with the indoor plants can be frustrating but we have a solution!
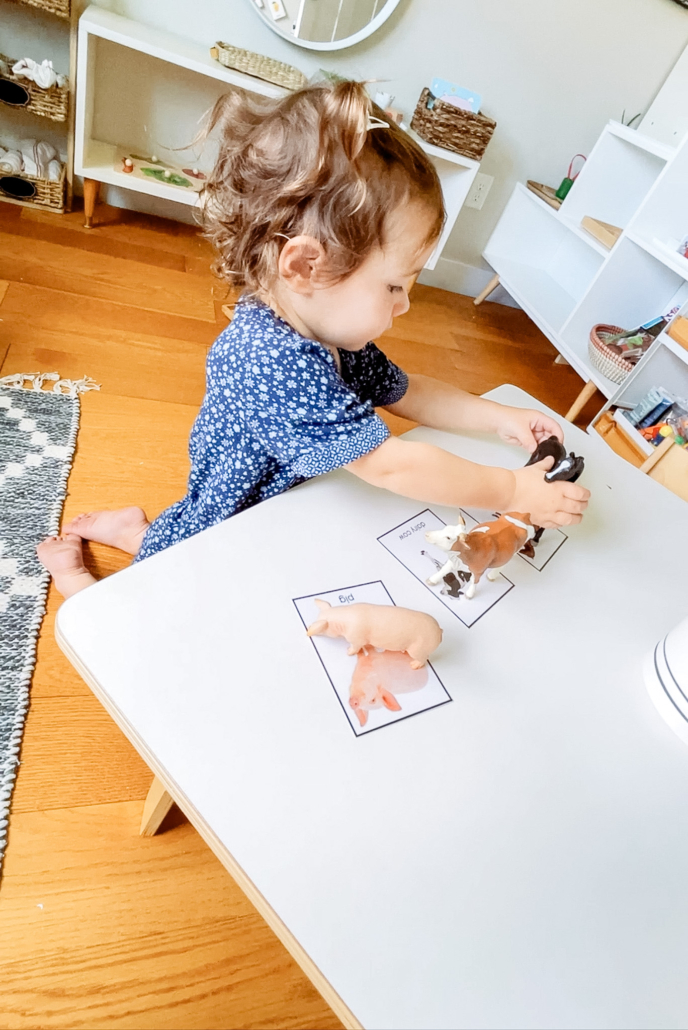
Show your children how to help care for your plants. They will love being involved and they will quickly learn respect for plants and odds are, they will stop playing in them!
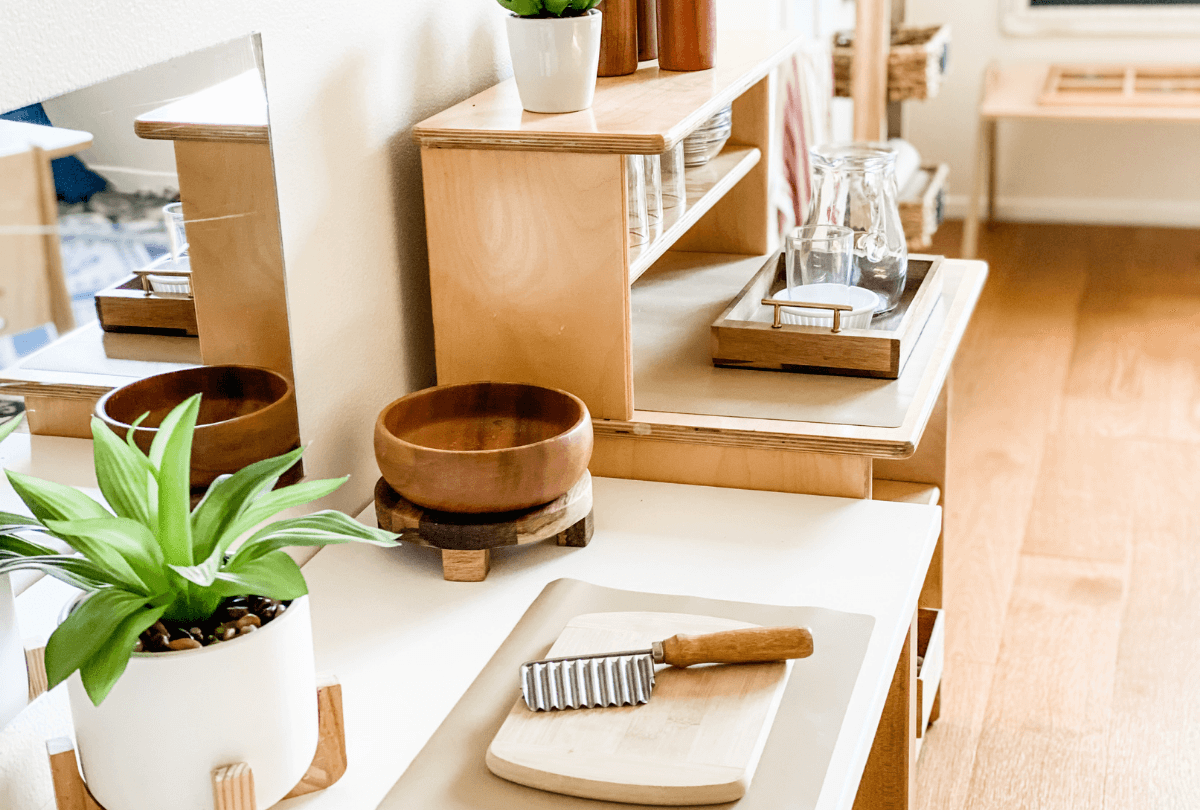
Indoor plants are used in Montessori classrooms to teach Care of the Environment to young children. It is a great way to engage little hands in being helpful and developing careful movements. Here is a simple plant watering presentation that you can set up very easily and get your children involved today.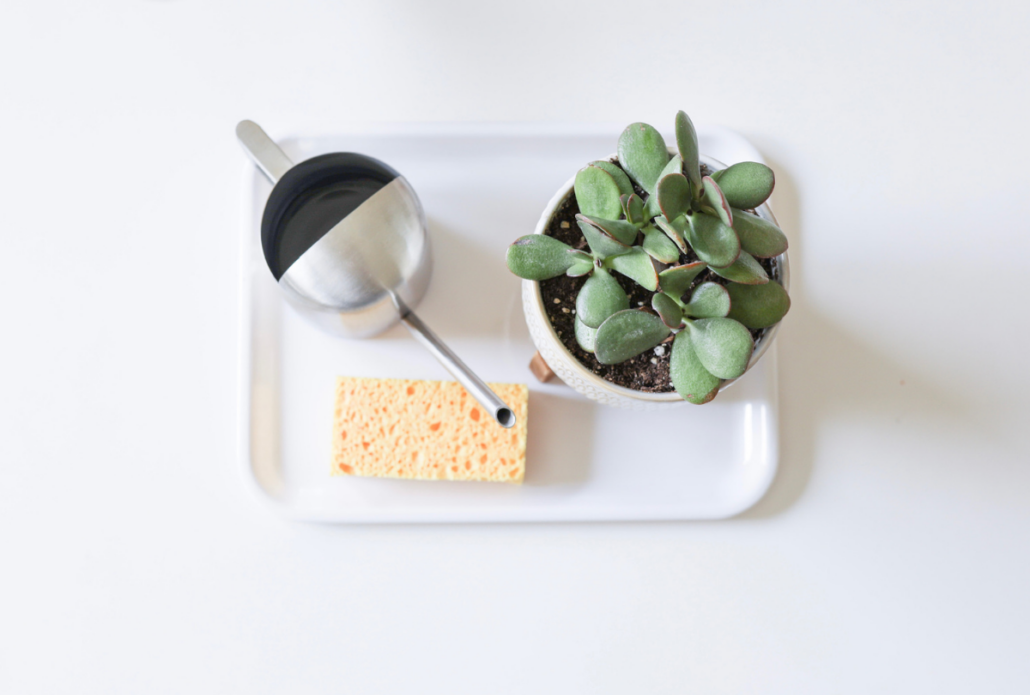
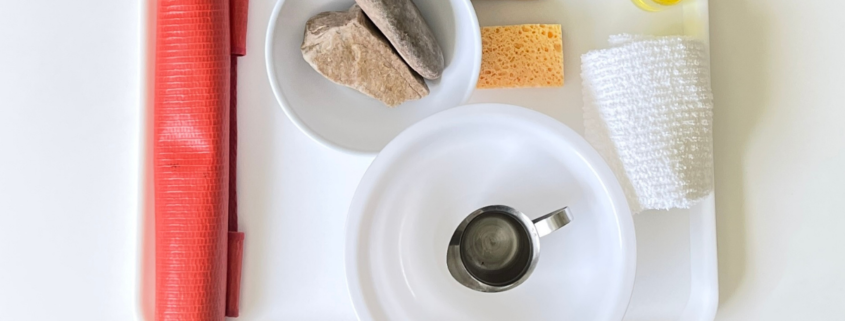
What you will need:
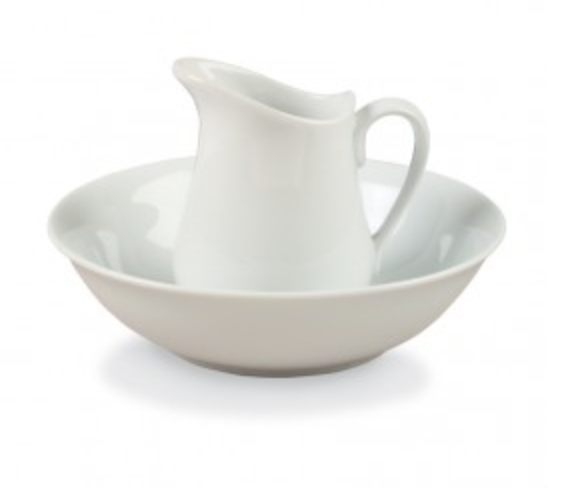
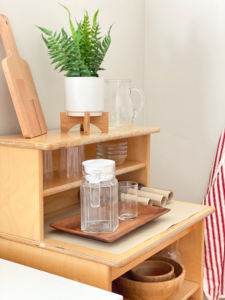
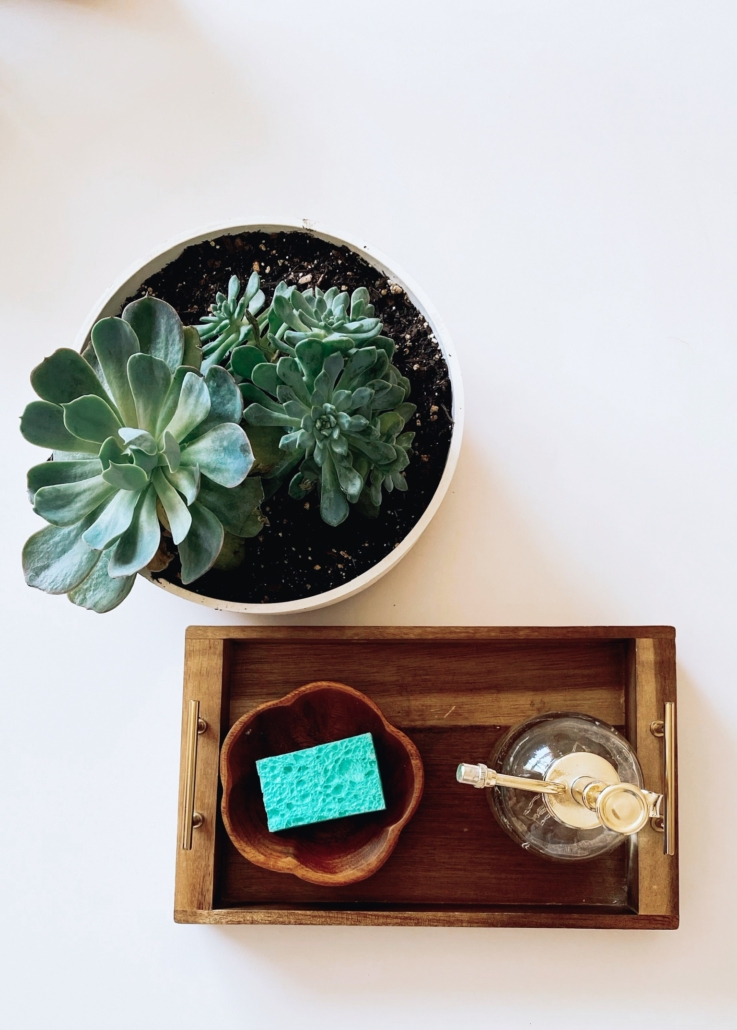
🪴A tray or basket
🪴A small watering can
🪴A sponge or small washcloth for spills
🪴A small potted plant
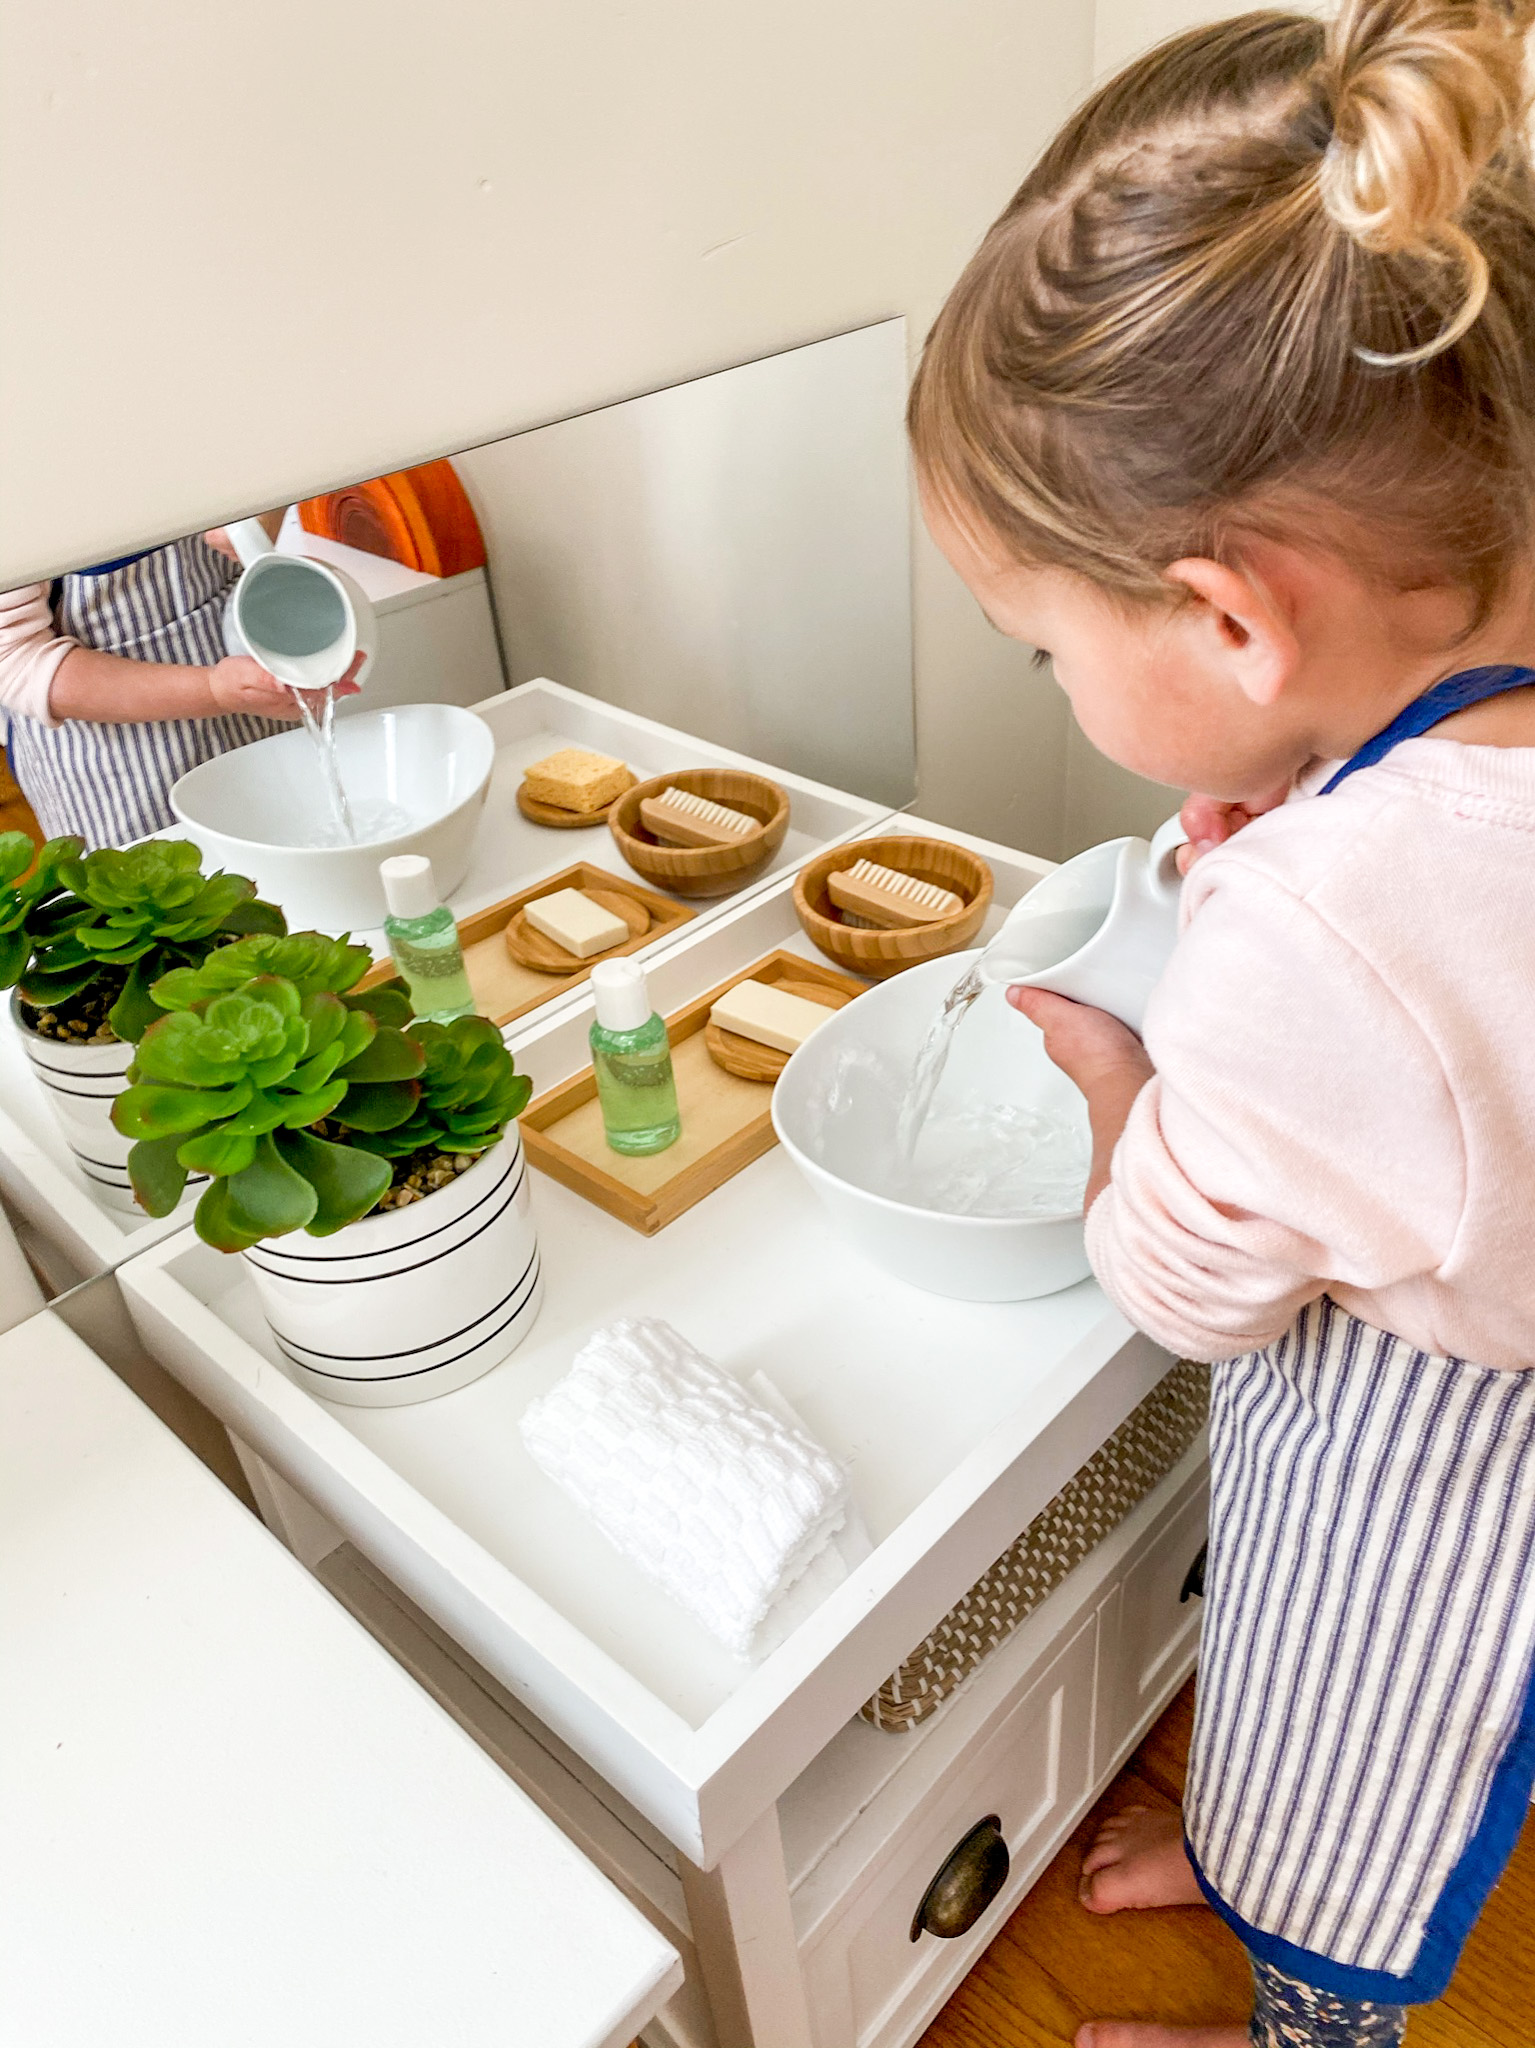
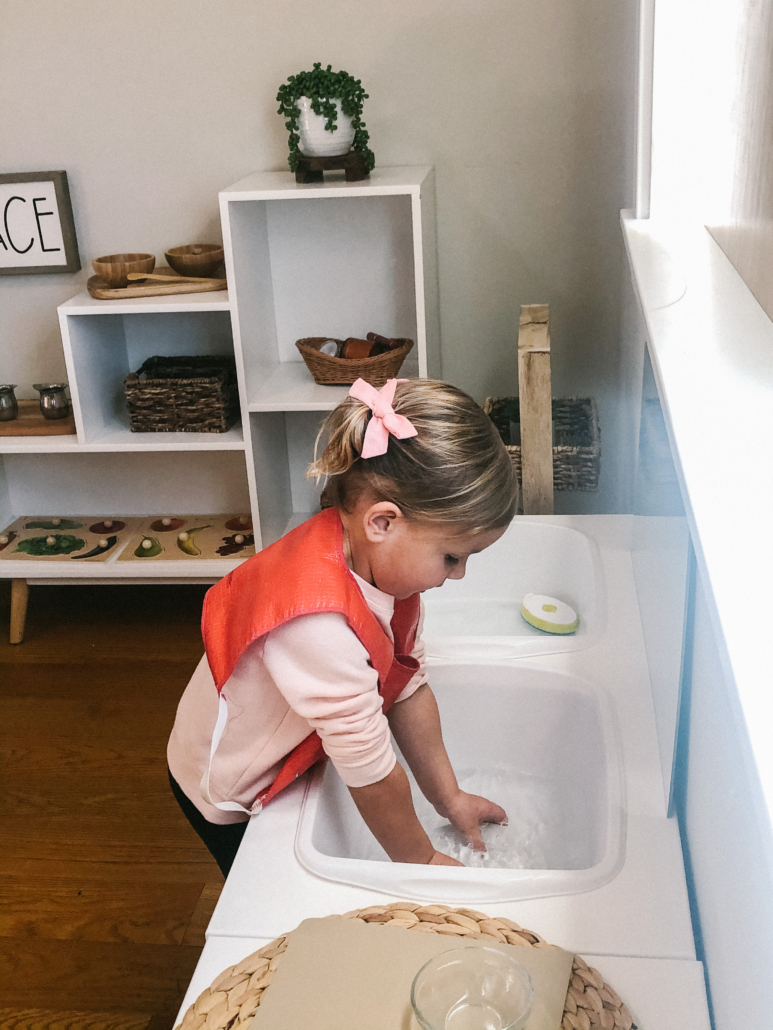
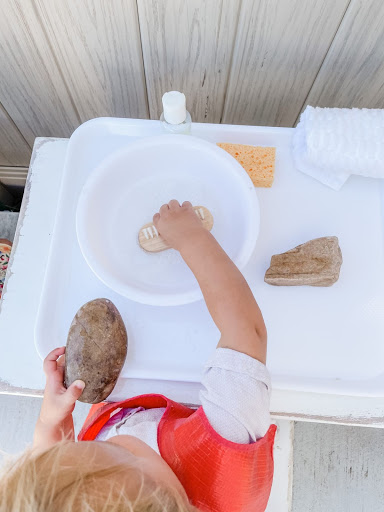
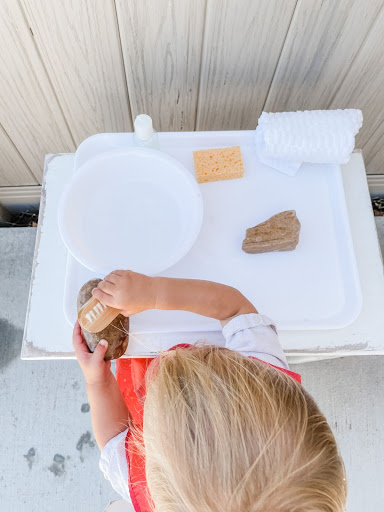
Set up the materials and invite your child to receive a lesson. Sitting on your child’s dominant side, present watering pouring. Make sure to hold the watering can in your dominant hand and support the spout with your other hand. This will allow for a more steady and controlled pour for your child. Draw attention to how much water should be given and discuss that once you have watered your plant for the day, we don’t need to water it again. Show your child how to clean up any spills using the sponge and then ask them if they would like a turn.
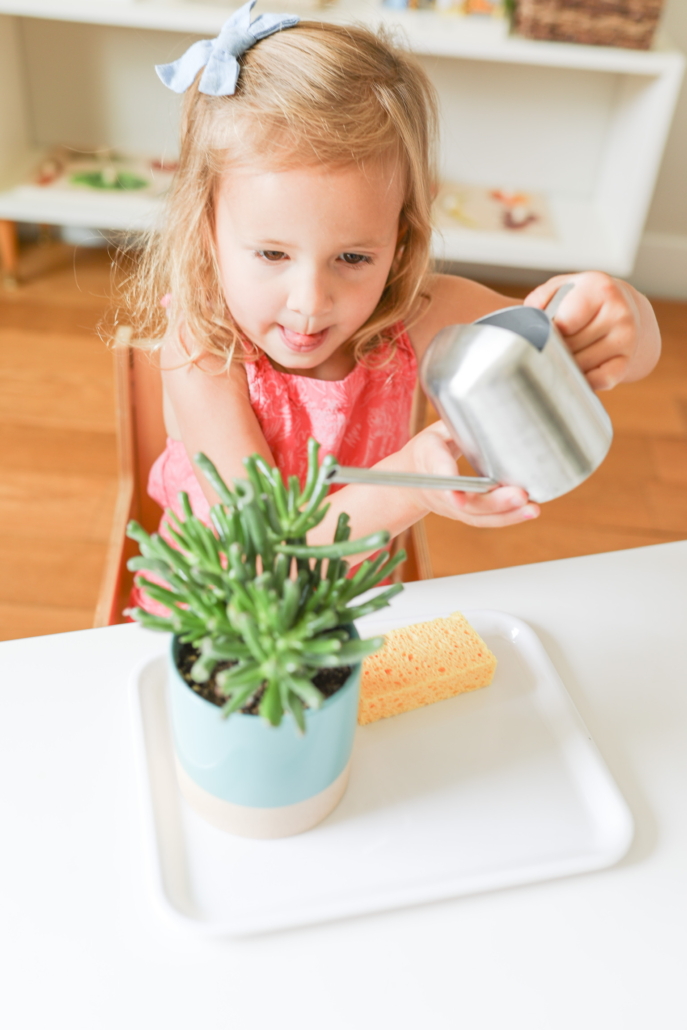
Note: if you want to make sure that only a small amount of water is given to the plant you can either pre-fill the can or you can have a line on the can indicating how far your child can fill up the water too. A pre-filled can is a great option for younger children. As they progress in preparing their own water activities, the fill line is a great option for slightly older children from about 3-6 years.
Allowing for plant watering work in your classrooms and homes is worth considering. The value in teaching responsibility and care are numerous and it helps in the development of a whole range of skills including coordination and fine motor skills. Try it today!
Other Plant Care Extension Ideas
1. Have you tried Leaf Polishing work? Here’s an idea of how to set this work up. You would present it in a very similar manner just drawing attention to the delicate leaves and the care we must take when polishing them. You can include scissors and teach how to remove a leaf that has died.
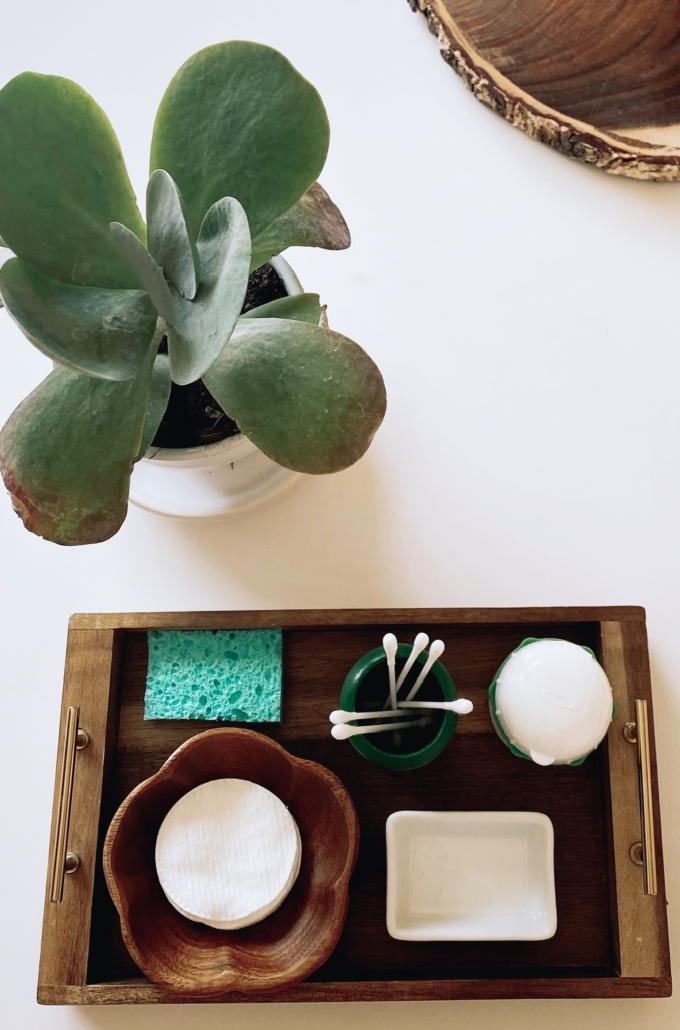
2. You can also set up a plant misting work as the one here. Allow children to mist the plant or individual leaves then carefully wipe them off.
3. A small duster can be used like this example below as well for a dry dusting.
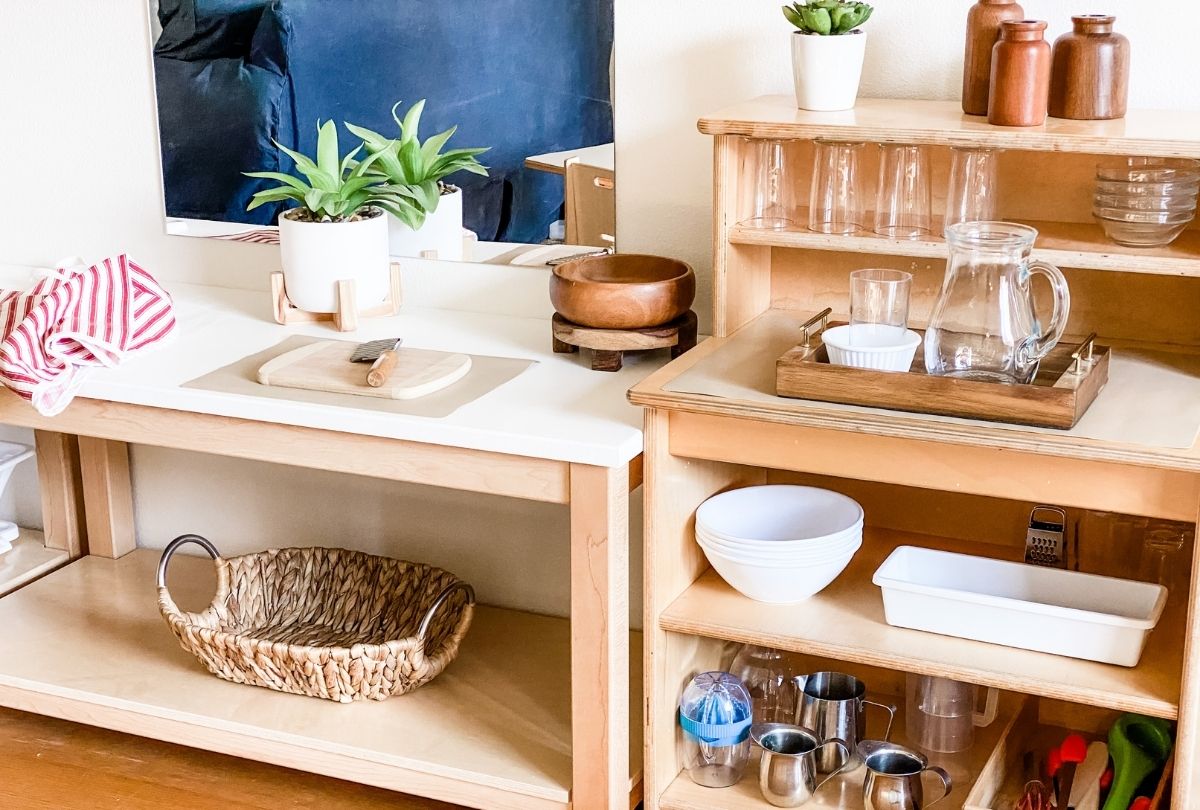
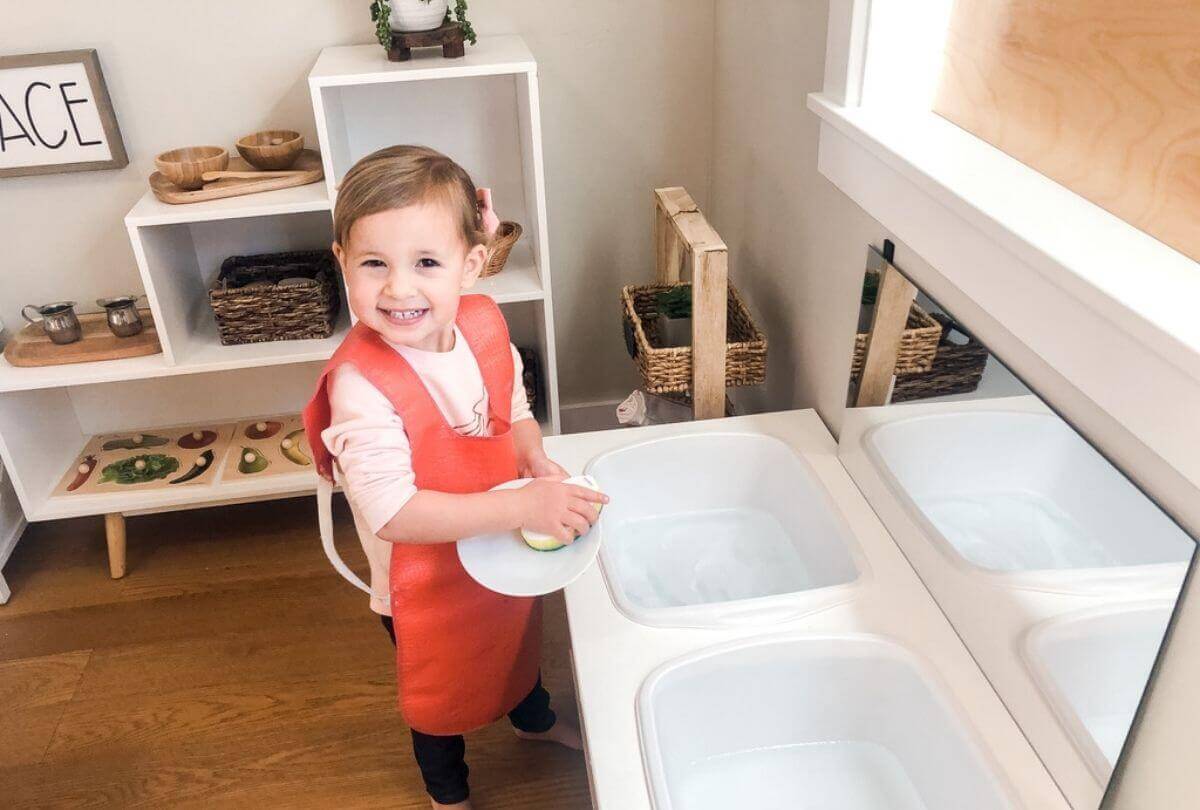
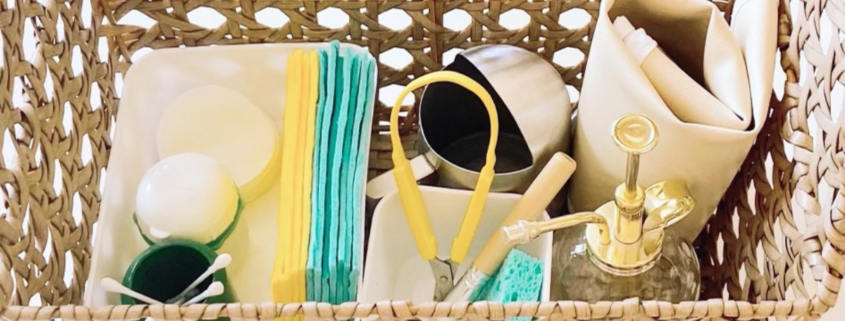
After you have presented each of the above individual works and your child is independent at each work, you can take this idea a step further and create a whole plant care basket. You would keep all of the cleaning materials inside this basket along with a plant care apron for your child to wear while he/she is doing this all important work. Here is an example of what that might look like.
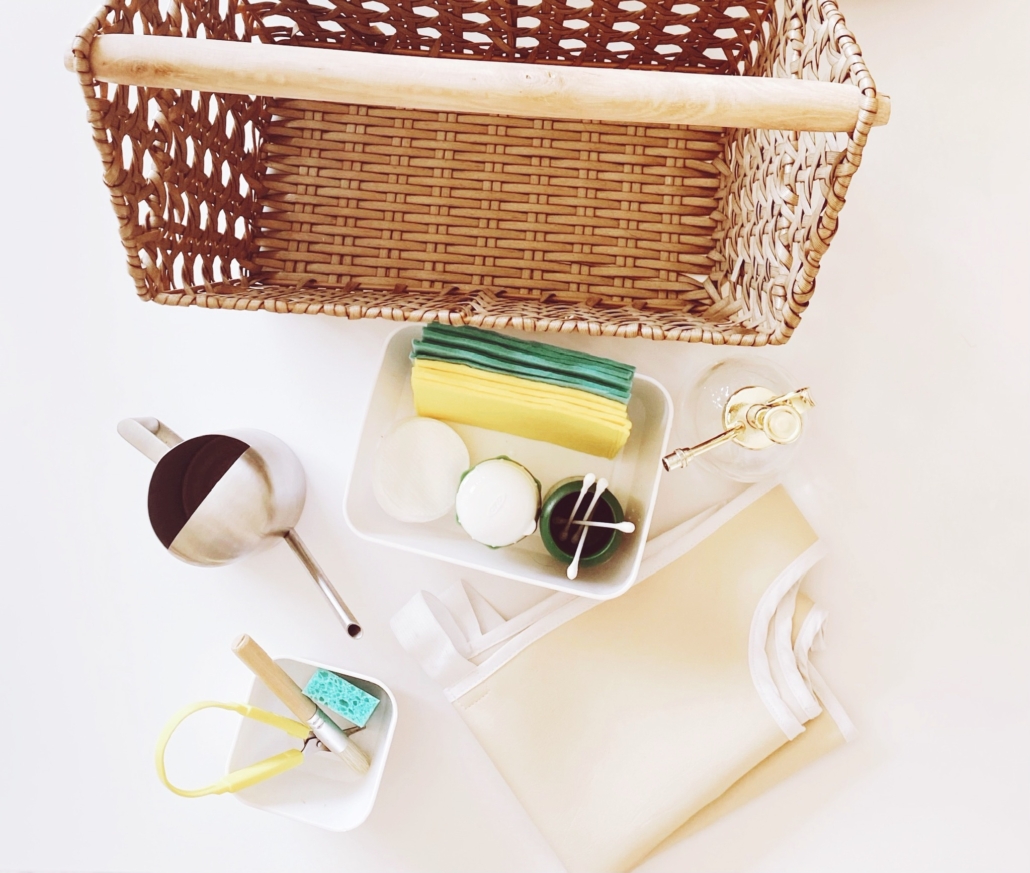
What is in our Plant Care Basket:
•child sized gardening apron
•a child sized watering can
•small pair of blunt scissors
•a small sponge
•a misting bottle
•a small terry cloth dusting mitt or towel
•a small duster
•a bowl for collecting dead leaves or trimmings
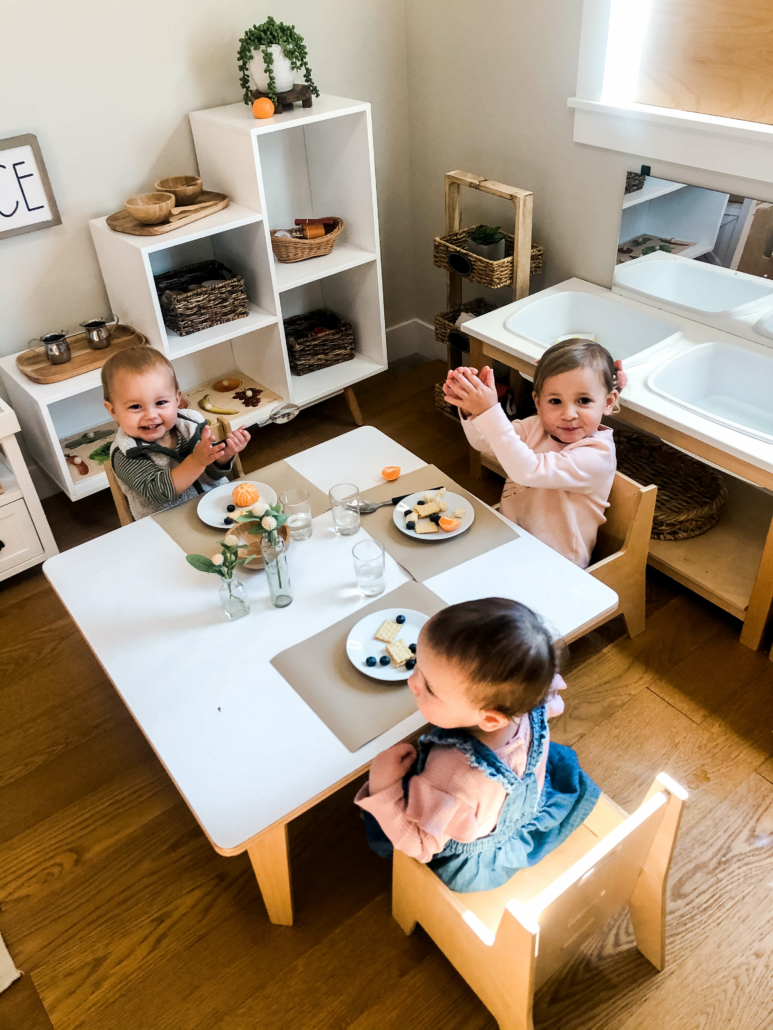
We keep our plant care basket on the shelf in our classroom or home studio. We usually remind the children that it is time to care for our plants since they only need to be looked after a few times a week. By bringing down the basket on plant care days, children know it is available work. We also have a similar care basket outside for all of our outdoor plants.


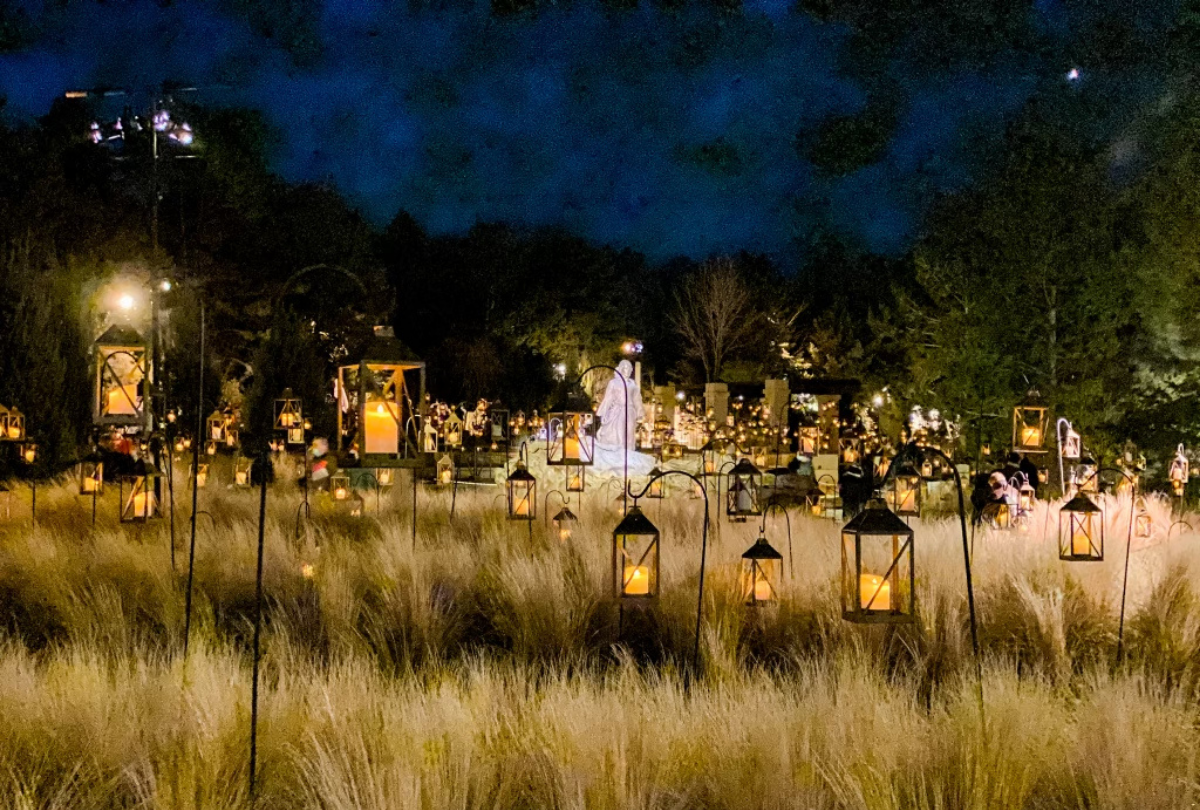

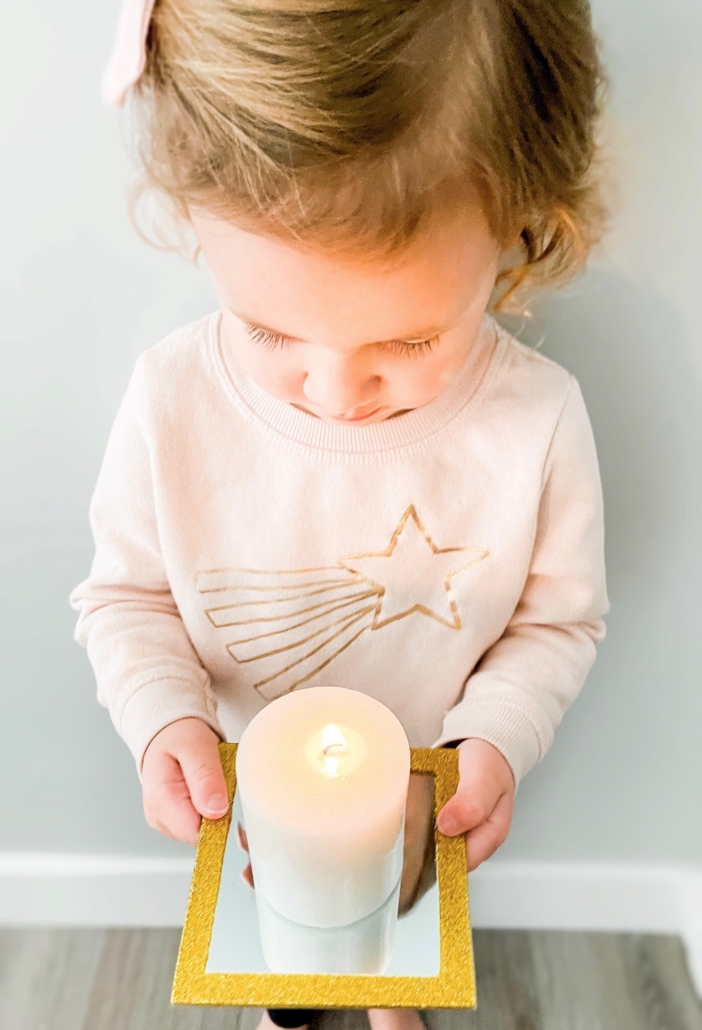
 Seeing all of these different kinds of lights on the shortest and darkest day of the year brought comfort and a blessing to my heart. And it made me think of all the years that we have celebrated at our school and with our family, the importance of being a light to others and bringing peace whenever we can.